In January 2019 I had built a rocker plate and documented the build process here: DIY Rocker Plate.
At the time, I had a Tacx Vortex, an on-wheel trainer. I recently upgraded to an Elite Suito and so I needed to cut new holes to help mount the trainer to the rocker plate. Since I would have needed to take it apart to do this, I decided to upgrade the finish and graphics. Nothing within the mechanism has changed.
My first decision I had to make was how to attach the trainer. For the Tacx Vortex, I had used split hangers. These worked well as the Tacx had round legs. The Elite Suito has square legs. The best options I found was to use velcro straps that I found on Amazon. They come in various widths, but I figured the 2″ width would be nice and sturdy. I ended up using 5 of them. I simply cut slots in the board to run the straps through. Here are the slots

The next decision was on the color and graphics. I decided to put the ELITE logo on the rocker plate so painting id red made the most sense. It matches the Elite logo colors and my bike is also black/red so it matches that too.
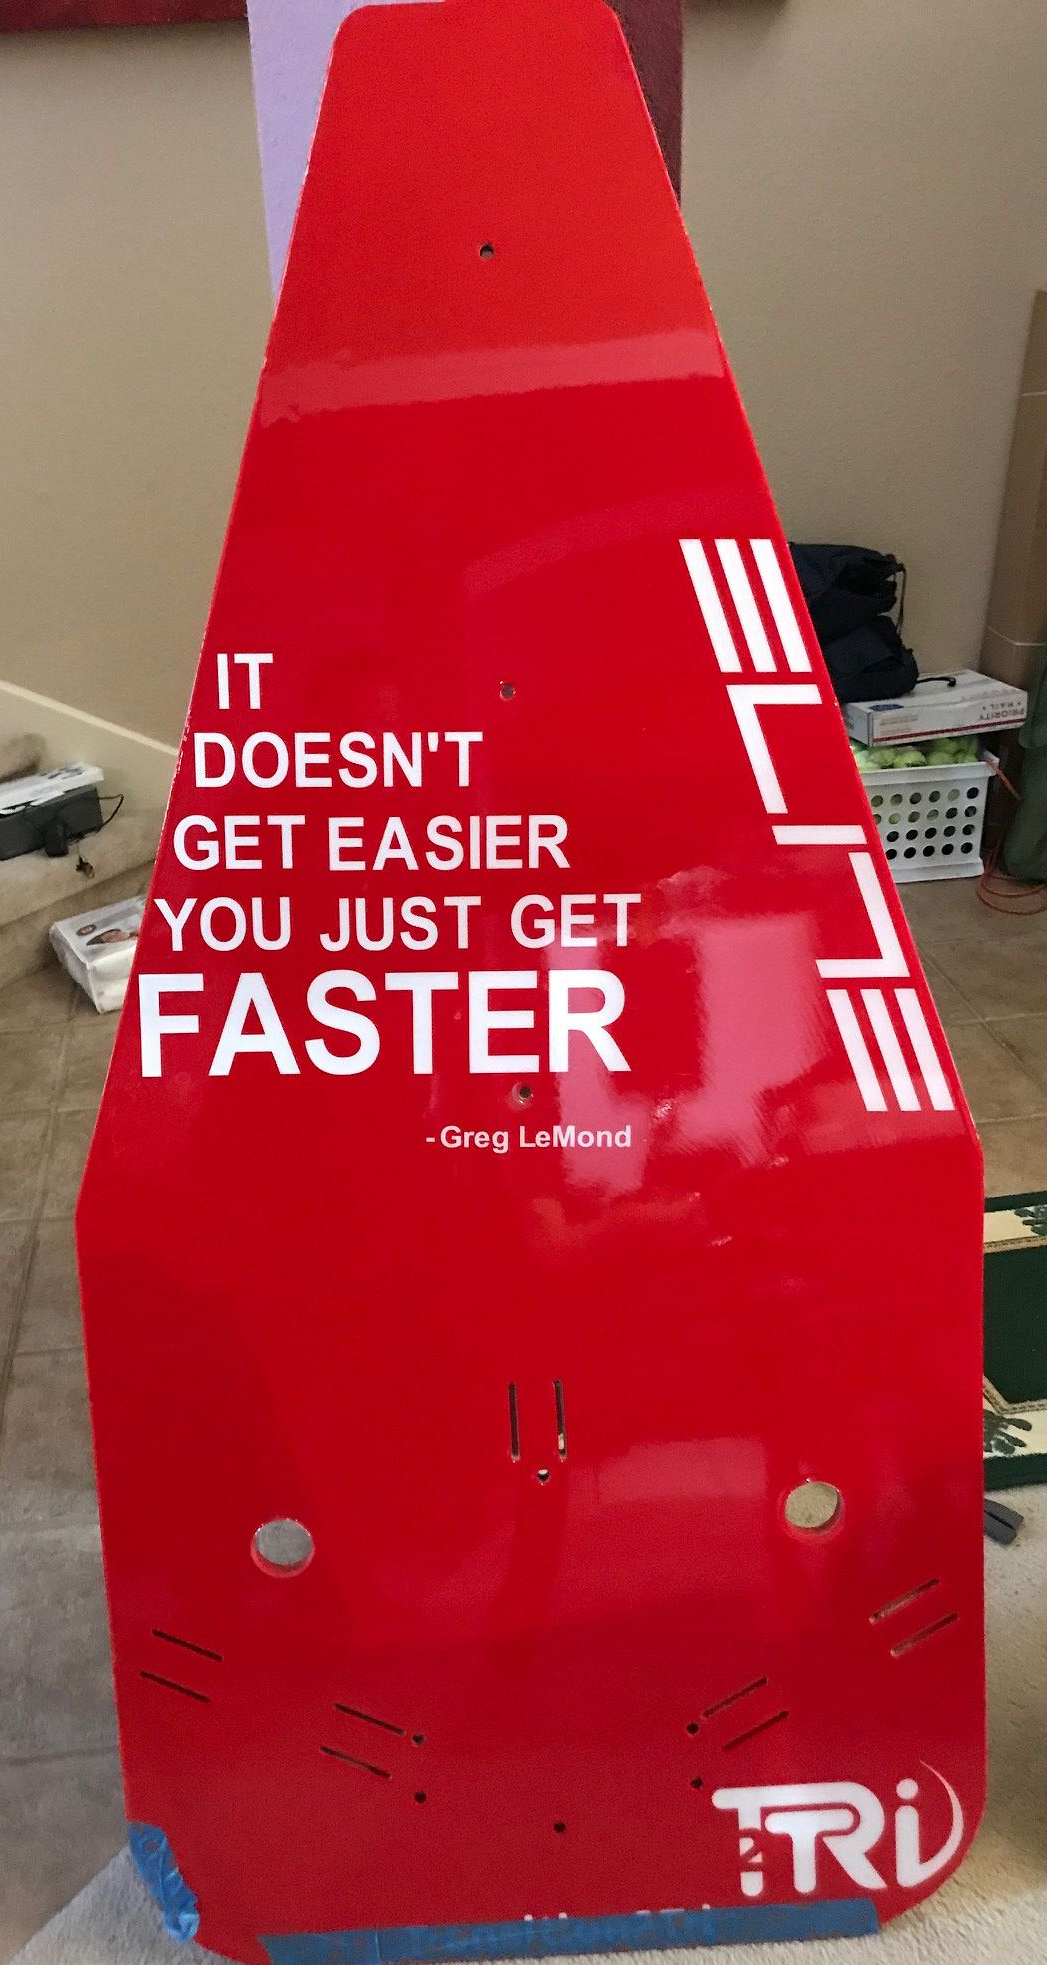
For the logos, I used a Cricut to cut permanent stickers. I also added my blog logo and an inspirational quote I came across from Greg LeMond.
I topped off the board with a thin layer of epoxy. This served mutliple purposes:
- It protected the stickers so they don’t peel or get destroyed from being stepped on
- It added a layer of protected to the rocker plate from sweat
- It gave it a great glass-like finish
The bottom of the rocker plate got painted white with some of it’s own graphics that would just peek through on the edges when assembled
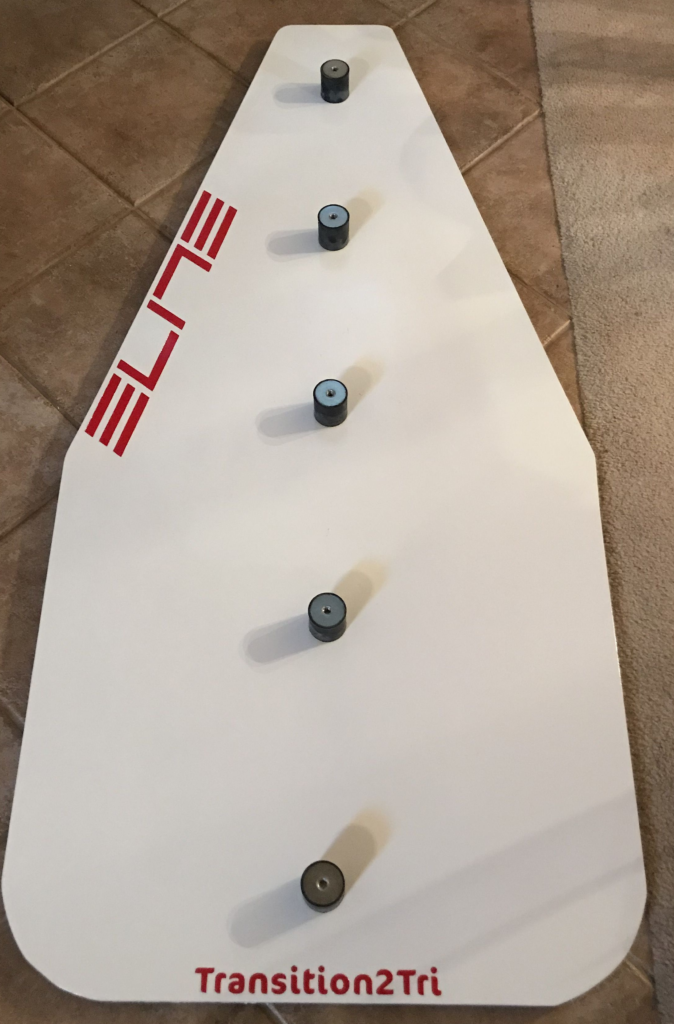
The bottom of the rocker plate got painted white with some of it’s own graphics that would just peek through on the edges when assembled
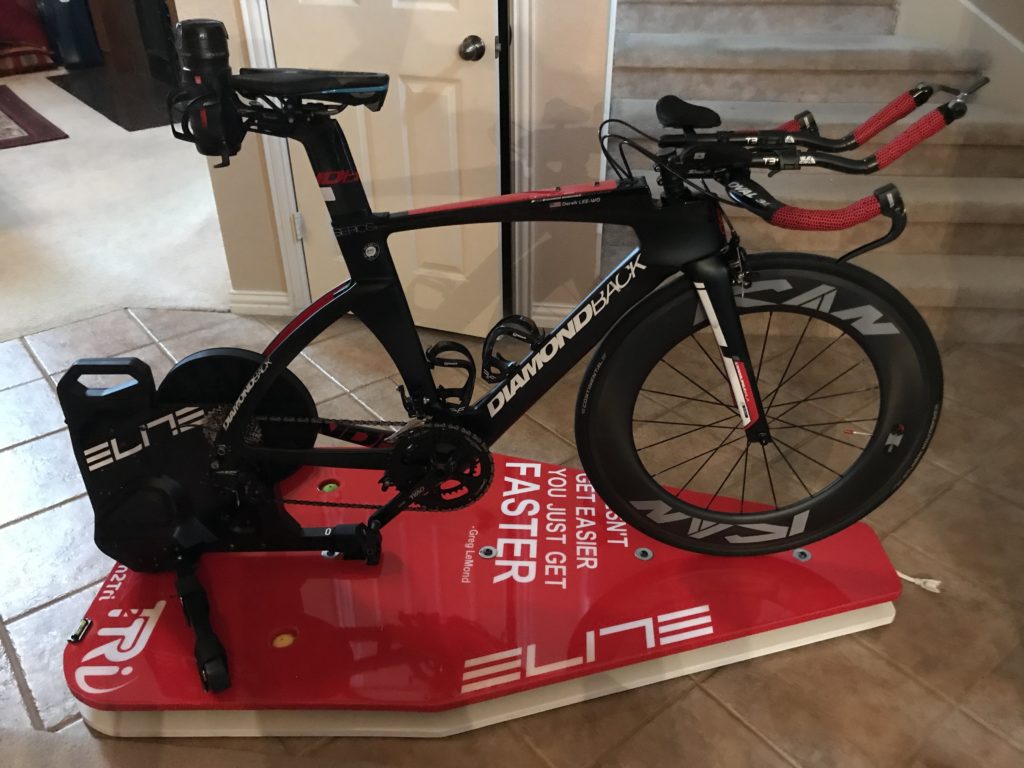
Here is the final result all assembled:
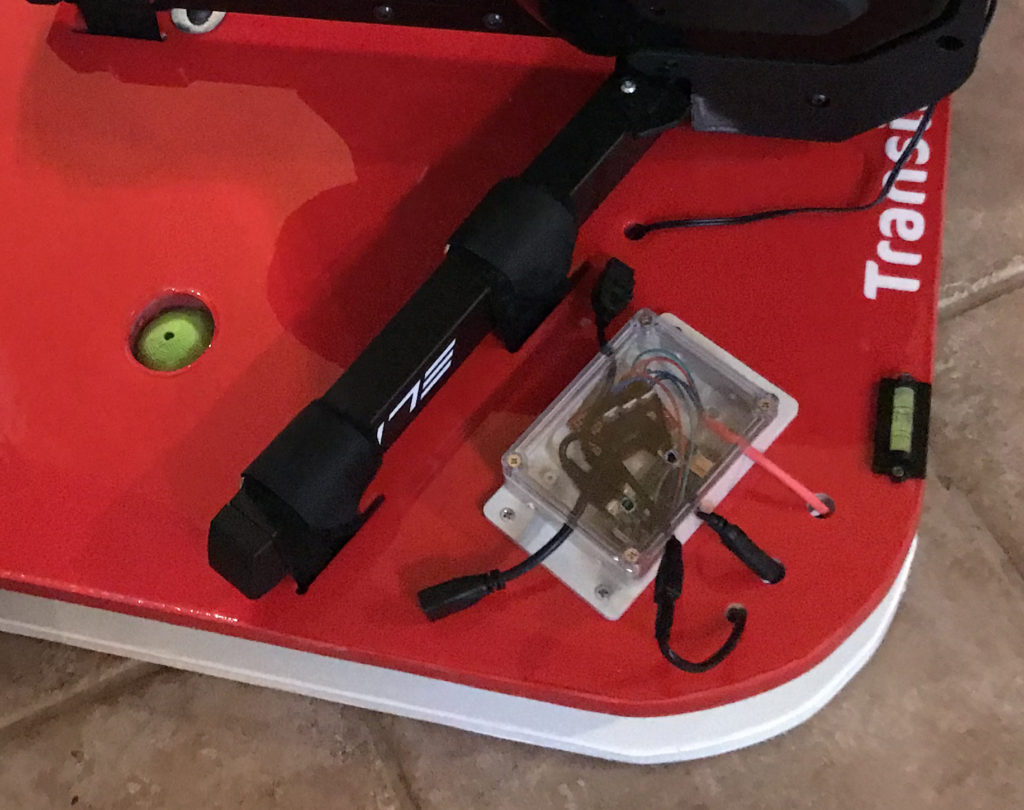
The last enhancement I wanted to make was to make my rocker plate smart. I want to add LED lighting whose color is changed based on my current power output. For this, I added a Raspberry Pi and LED lighting. This part of the project isn’t fully completed, but here is the control box and an example video of how the LED lights will eventually change: